01.17
The Project
I needed a desk for my eight year old. With daily homework, it was obvious that she needed a place where she could work on her own. After scouring the obvious sources (ie Ikea), nothing in her size fit in the space that we had available, so a custom build was the obvious answer, but I needed it fast.
I had seen some very cool double desk designs at DWR (the original desk is no longer carried, but a similar one looks like this). This allows for a parallel storage area directly under the top desk writing space. I decided that my design would incorporate this element.
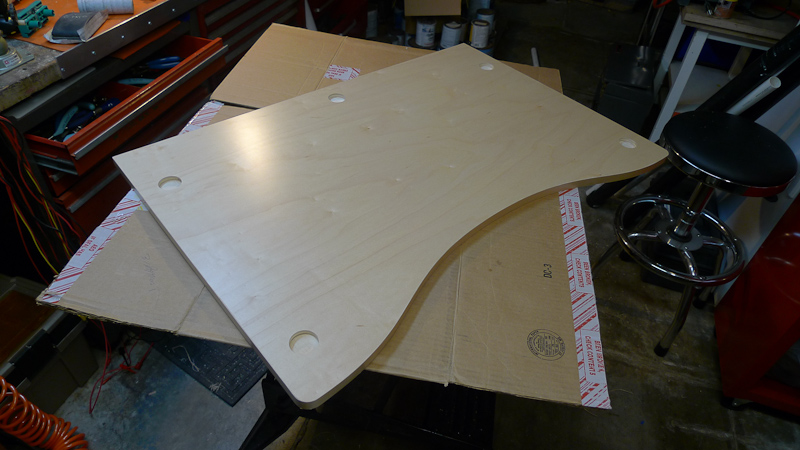
Next, I wanted the front to have a rounded fitted feel, instead of a straight typical desk shape, so the middle of the desk would be inset a few inches from the edges.
Finally, I didn’t want to take up space for a desk lamp on the top surface, instead, electing to have the lamp base built directly into the the desktop surface. I picked a relatively inexpensive lamp from Ikea (the Antifoni) which has a simple peg interface into the base. This would allow me to separate the lamp from the base and build it directly into the desk.
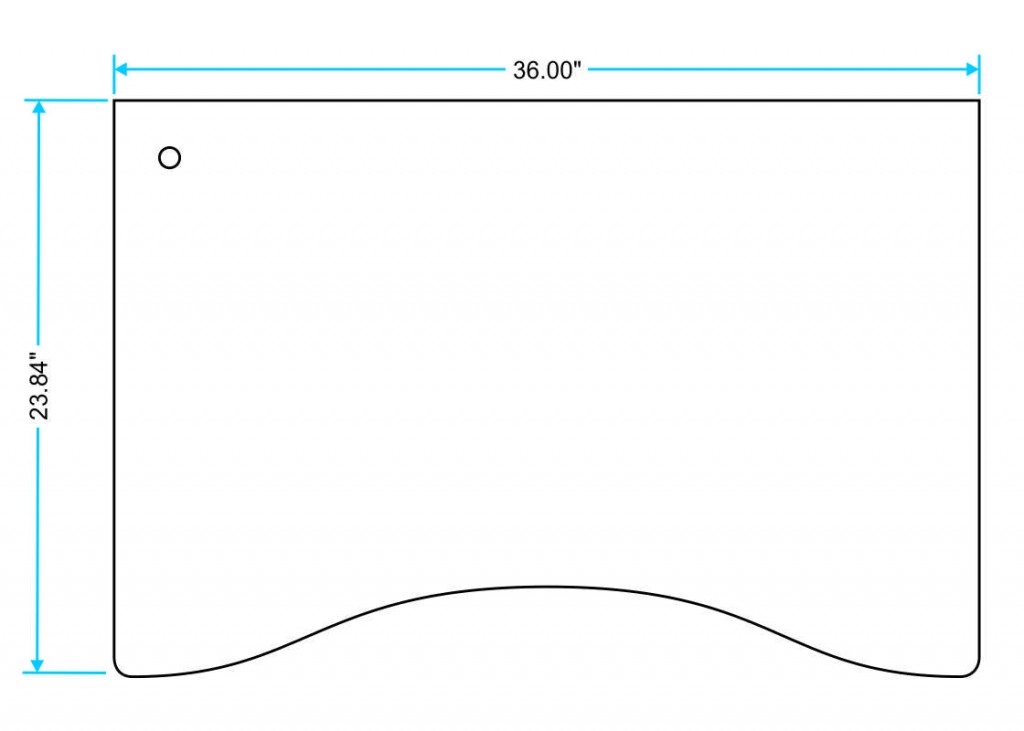
Using CorelDRAW, a desk design was created. The basic size would be 36″ x 24″. Top of Desk 1 (topmost plane).
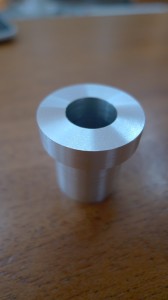
The design would use 1.5″ Stainless tubing as separators between each desk plane, and a single hole for a custom machined aluminum bushing for the desk lamp.
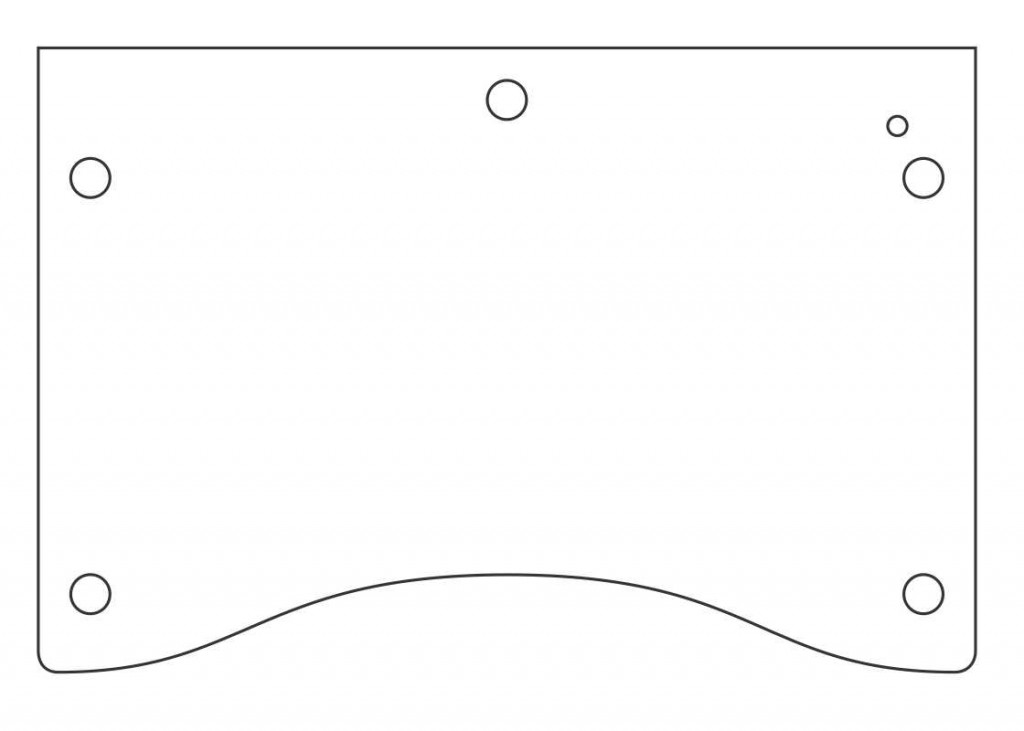
Both the desk Top and desk bottom would be routed on a ShopBot CNC router, to accommodate the stainless tubing separates, the bottom of the desk Top and the top of the Desk Bottom would be routed with the same file (actually, a mirror image of the file).
The design was then transferred to VCarvePRO to create toolpaths for the ShopBot using a 3/8″ carbide end mill.
I first though I would use an Appleply plywood and then apply a Formica top for durability, but the Formica turned out to be expensive and overkill for any use that a desk would reasonably sustain. I elected for a pre-finished 3/4″ Maple plywood from Macbeath Hardwood in San Francisco. The edges are not that great, so maple edging would be required to finish the desk.
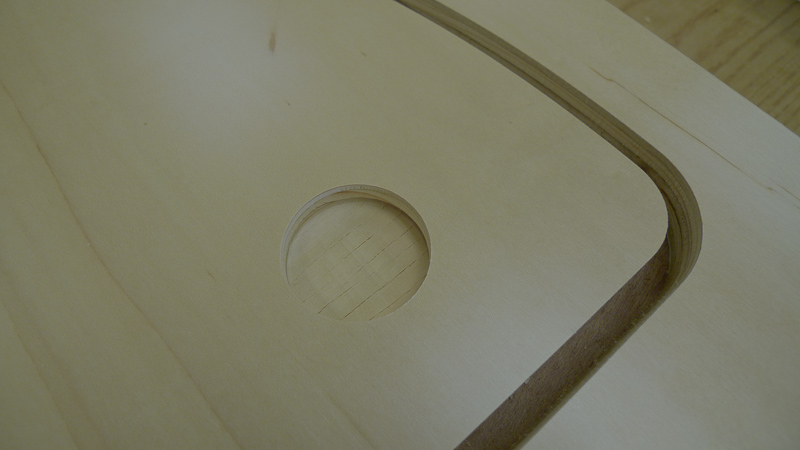
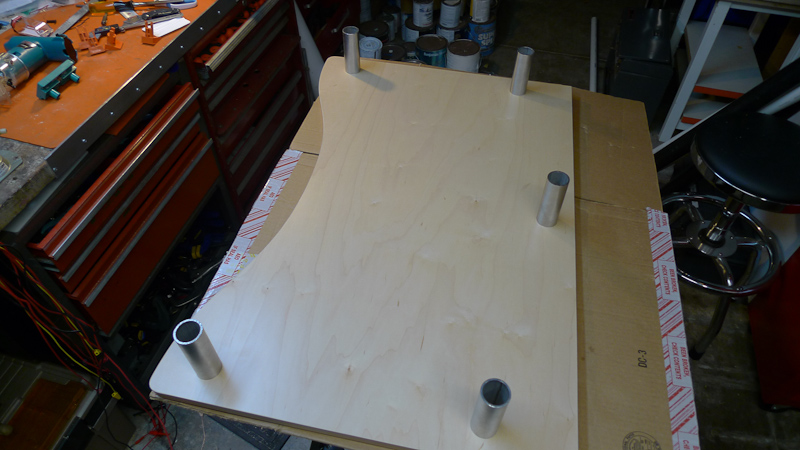
Setup time took an hour, as I made several test cuts of both spacer holes and lamp holes to get a perfect fit. Since the stainless spacers are held in by a close tolerance friction-fit, getting the exact size of the hole right was critical. In the end, I only needed to tap each tube in with a hammer to set them. Hole are 0.5″ in depth (on a 0.75″ thick top).
ShopBot cut time was relatively quick, less than 10 minutes per sheet.
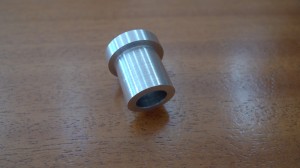
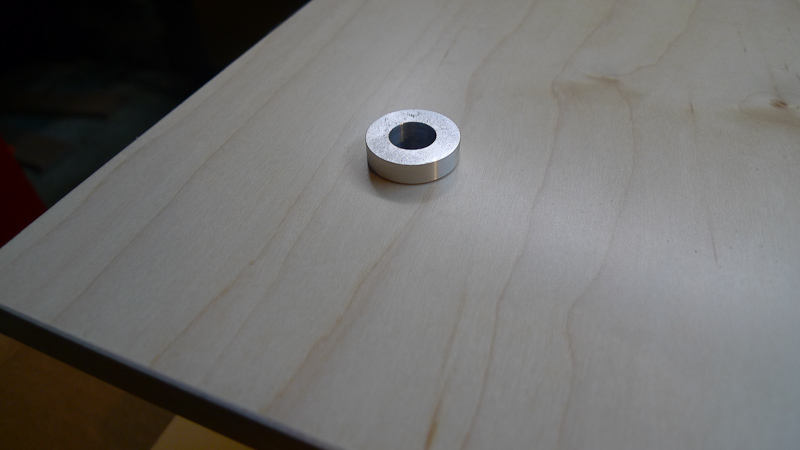
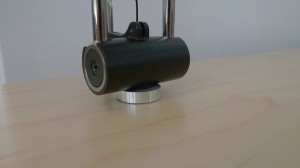
With accurate measurements of the lamp peg, an aluminum bushing was machined on a metal lathe to accept the lamp. A close fit tolerance of 0.005″ was used for a tight fit. This tight tolerance wound up significantly improving the performance of the lamp, as the original, as bought from IKEA, had a large amount of wiggle and wobble due to the base not being sized correctly for the lamp. With the proper sized hole, the otherwise inexpensive Ikea lamp actually feels very nice.
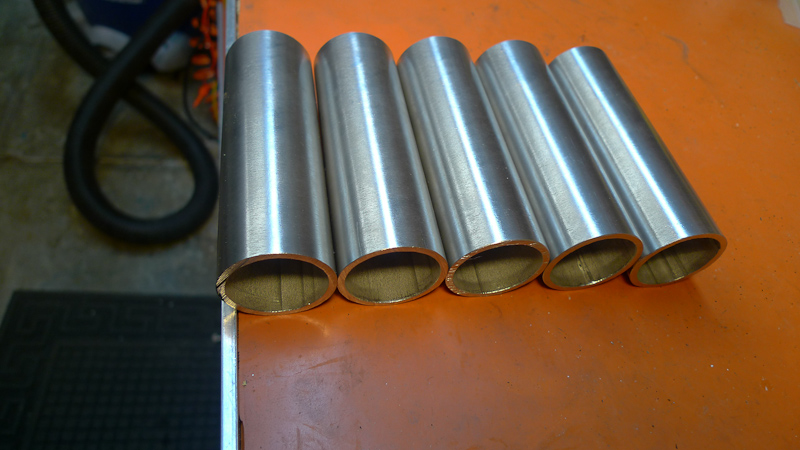
Separator legs were created by cutting down a length of 1.5′ 304 Stainless steel on a metal band saw and finishing on a grinder fitted with a wire wheel. The idea was that the stainless tubes would friction fit perfectly into the top and bottom and not require any additional adhesives or fasteners to keep the two table tops together.
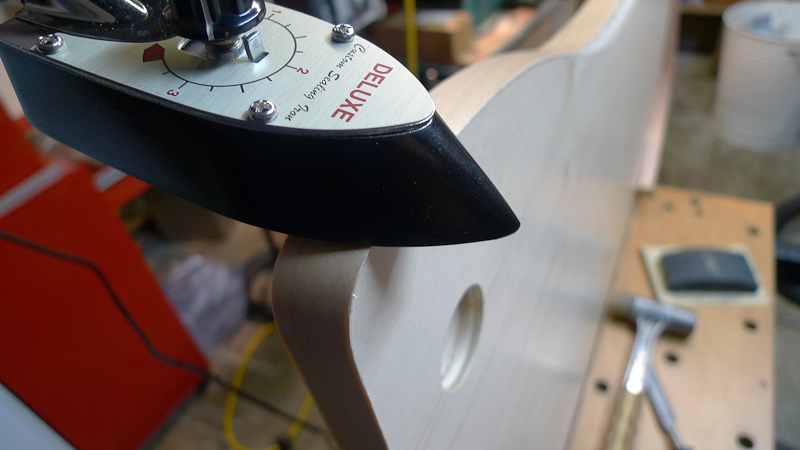
The edge banding proved to be a bit of a hassle. The traditional “cheap” method of using a standard clothes iron didn’t work, as the inner curve of the desk front prevented any good head transfer with the large iron. Reluctantly, I bought a specialized edge-banding iron from Woodcraft in San Carlos, which has a tapered front edge that allowed me to make the tight curve.
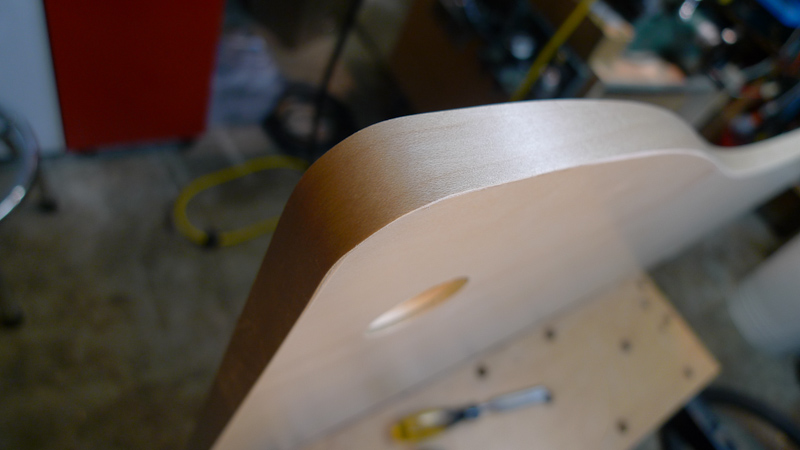
Routing the edge triming on curved surfaces proved to be very difficult. I started with a plain edge trimmer, but that did not handle the inner curves. I then tried my Makita Edge trimmer with a 1/4″ bit, but again, any tilt of the router tended to gouge out too much material from the edge. I spent some time fabricating a custom guide to my edge trimmer, but in use, that did not prove to be too effective. In the end, a sharp utility knife and sanding block was required to get the edges perfectly beveled with the top. This one task, by far, consumed the most significant amount of time (about an hour just in sanding these two tops).
Here is a view of the finished top.
Top with stainless spacers inserted.
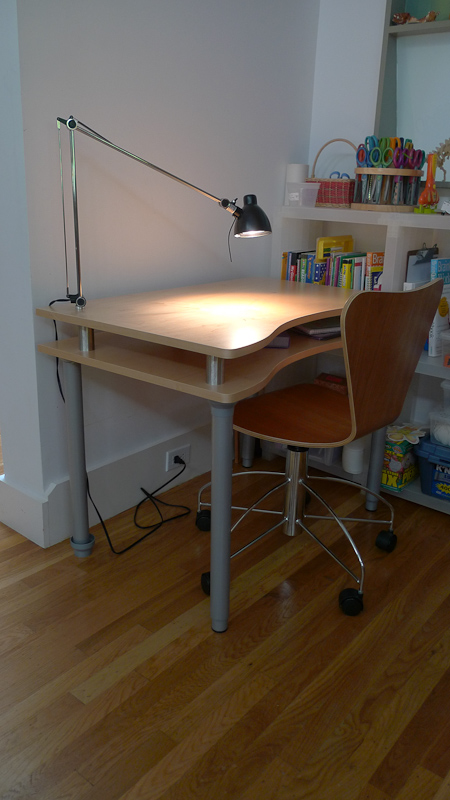
And fully assembled.
Table light bushing installed.
As for legs, the design called from similar 1.5″ stainless tube legs, but seeing that I wouldn’t get a chance to access a TIG welder for a while, I decided to temporarily use a set of Ikea legs for the bottom set of legs. Eventually, I’ll replace these with matching stainless legs.
Completed desk in place.
The lamp busing worked out better than I expected. It really made a huge difference.
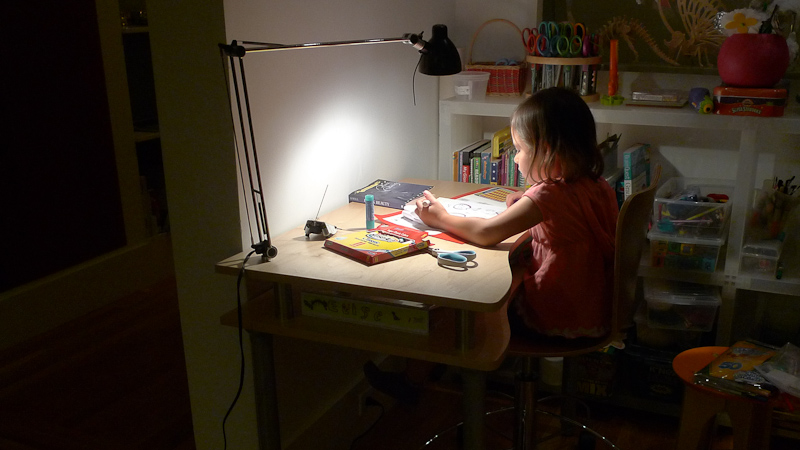
And finally, the desk at use.
Conclusion
Overall, this project came off very well. The legs are an obvious improvement, but I need to brush up on my TIG welding skills first. Two more desks are planned for the office area and they will follow similar designs. The pre-finished 0.75″ plywood from MacBeath really cut significant time with this project.
Breakdown
| Built Time | 7 Hours |
| Total Project time | 1 Week |
| Material Cost | ~ $60 |


No Comment.
Add Your Comment